Connect & follow 


| 0 Product(s) in cart |
| Total $0.00 |
| » Checkout |
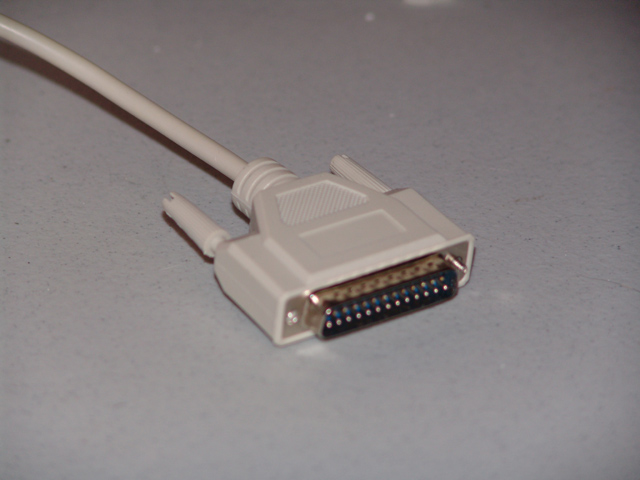
WE HIGHLY RECOMMEND USING THE PARALLEL CABLE
Parallel Setup1. Check the carriage and make sure it is on the guiderail, as they can come off during shipment. If it is off you can just pick it up and place it back on the rail.


2. Load the Artcut software, if you get a message saying "Install CD-R" then put the white disk in your drive and restart your computer and it will load by itself.
3. Open the artcut software
4. Connect the parallel cable to your computer and to the cutter and turn the cutter on.
5. Type something in the box in Artcut to test
6. Go to cut/plot , in the "Device" box choose the manufacturer "Refine" , NOT BRIDGE.

7. Add the cutter you have , if there is more then one add each of them. Usually the 721DPML choice seems to work best. You should be able to use this device for all of our cutters.
8 Choose lpt1 for how you will connect (this is for using the Parallel Cable)

9. Hit cut out and it will work.
==================================================================
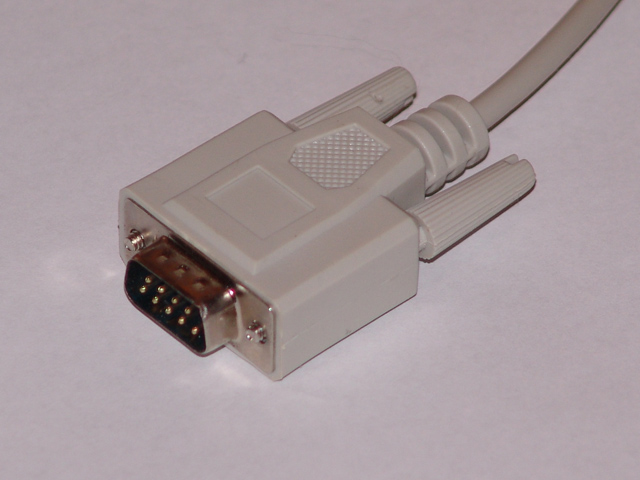
Serial Connection
If you are using the serial cable follow the same instructions and choose com 1.
==================================================================
USB CONNECTION
Connecting through usb is the only way which requires loading a driver.


Unplug your usb cable from your computer. Go to our Download page and download the usb driver. Restart your computer.
We highly recommend usinig the Signcutx2 software first if you need to use the usb connection as signcut will work with all com ports as opposed to artcut which will only work with com 1 and com 2.
Open up signcutx2, type something to test in the font box, go to settings, choose Bridge as manufacturer, choose your model next, (if you have the 12" Pro365 choose the 720), now click on Device and you will see a couple com ports available there. You will most likely be connected to the highest com port you see.
If your com port is higher then 2 then you will have to change it to work with artcut. Click on the highest com port and then go to cut/plot and leave the baud rate at 9600 and it will work.
If you need to use usb with artcut then you may have to go into device manager and change your port to a lower number so artcut will recognize it. And thats it...... pretty simple.
==================================================================
USING VISTA WITH YOUR SOFTWARE
Go to this link first and download the ce3000mk2 driver
http://graphteccorp.com/support/software/cuttingplotters.html
Artcut software will only recognize Com 1 & 2. When you plug in your usb cable it will most likely set to default at Com 4 so Artcut WILL NOT recognize it until you change your Com Port. Here is what you have to do step by step.


